Here’s a little reminder of the steps you took in your felting workshop!


Have a little think about what design you might like to make. Pinterest is always a good little spot for inspiration if you’re stuck on where to begin! Or check out the links provided in the email sent to you that lead you here for some inspiration and projects.

Once you’ve chosen the piece you want to felt, have a think about all of the elements within your design.

What are the different shapes that form the whole?
Are there leaves as part of a succulent?
How do you want your head and legs to look on an animal?
What is the base colour for your landscape?

It will help you if you don’t try to start with the whole piece, but consider your piece step by step.

And don’t forget to pop your finger guards on before you get felting!!

If you’re starting with ‘core wool’ to create a 3D piece, pop your wool on your felting mat and start your project by gathering the wool into the rough base shape and using your biggest needle (the silver tipped one linked on the email!)

You’ll build all of your colours and attach your head/legs etc. onto this base, so make sure it’s not too tightly felted so that you’re able to continue felting into this until your piece is finished.

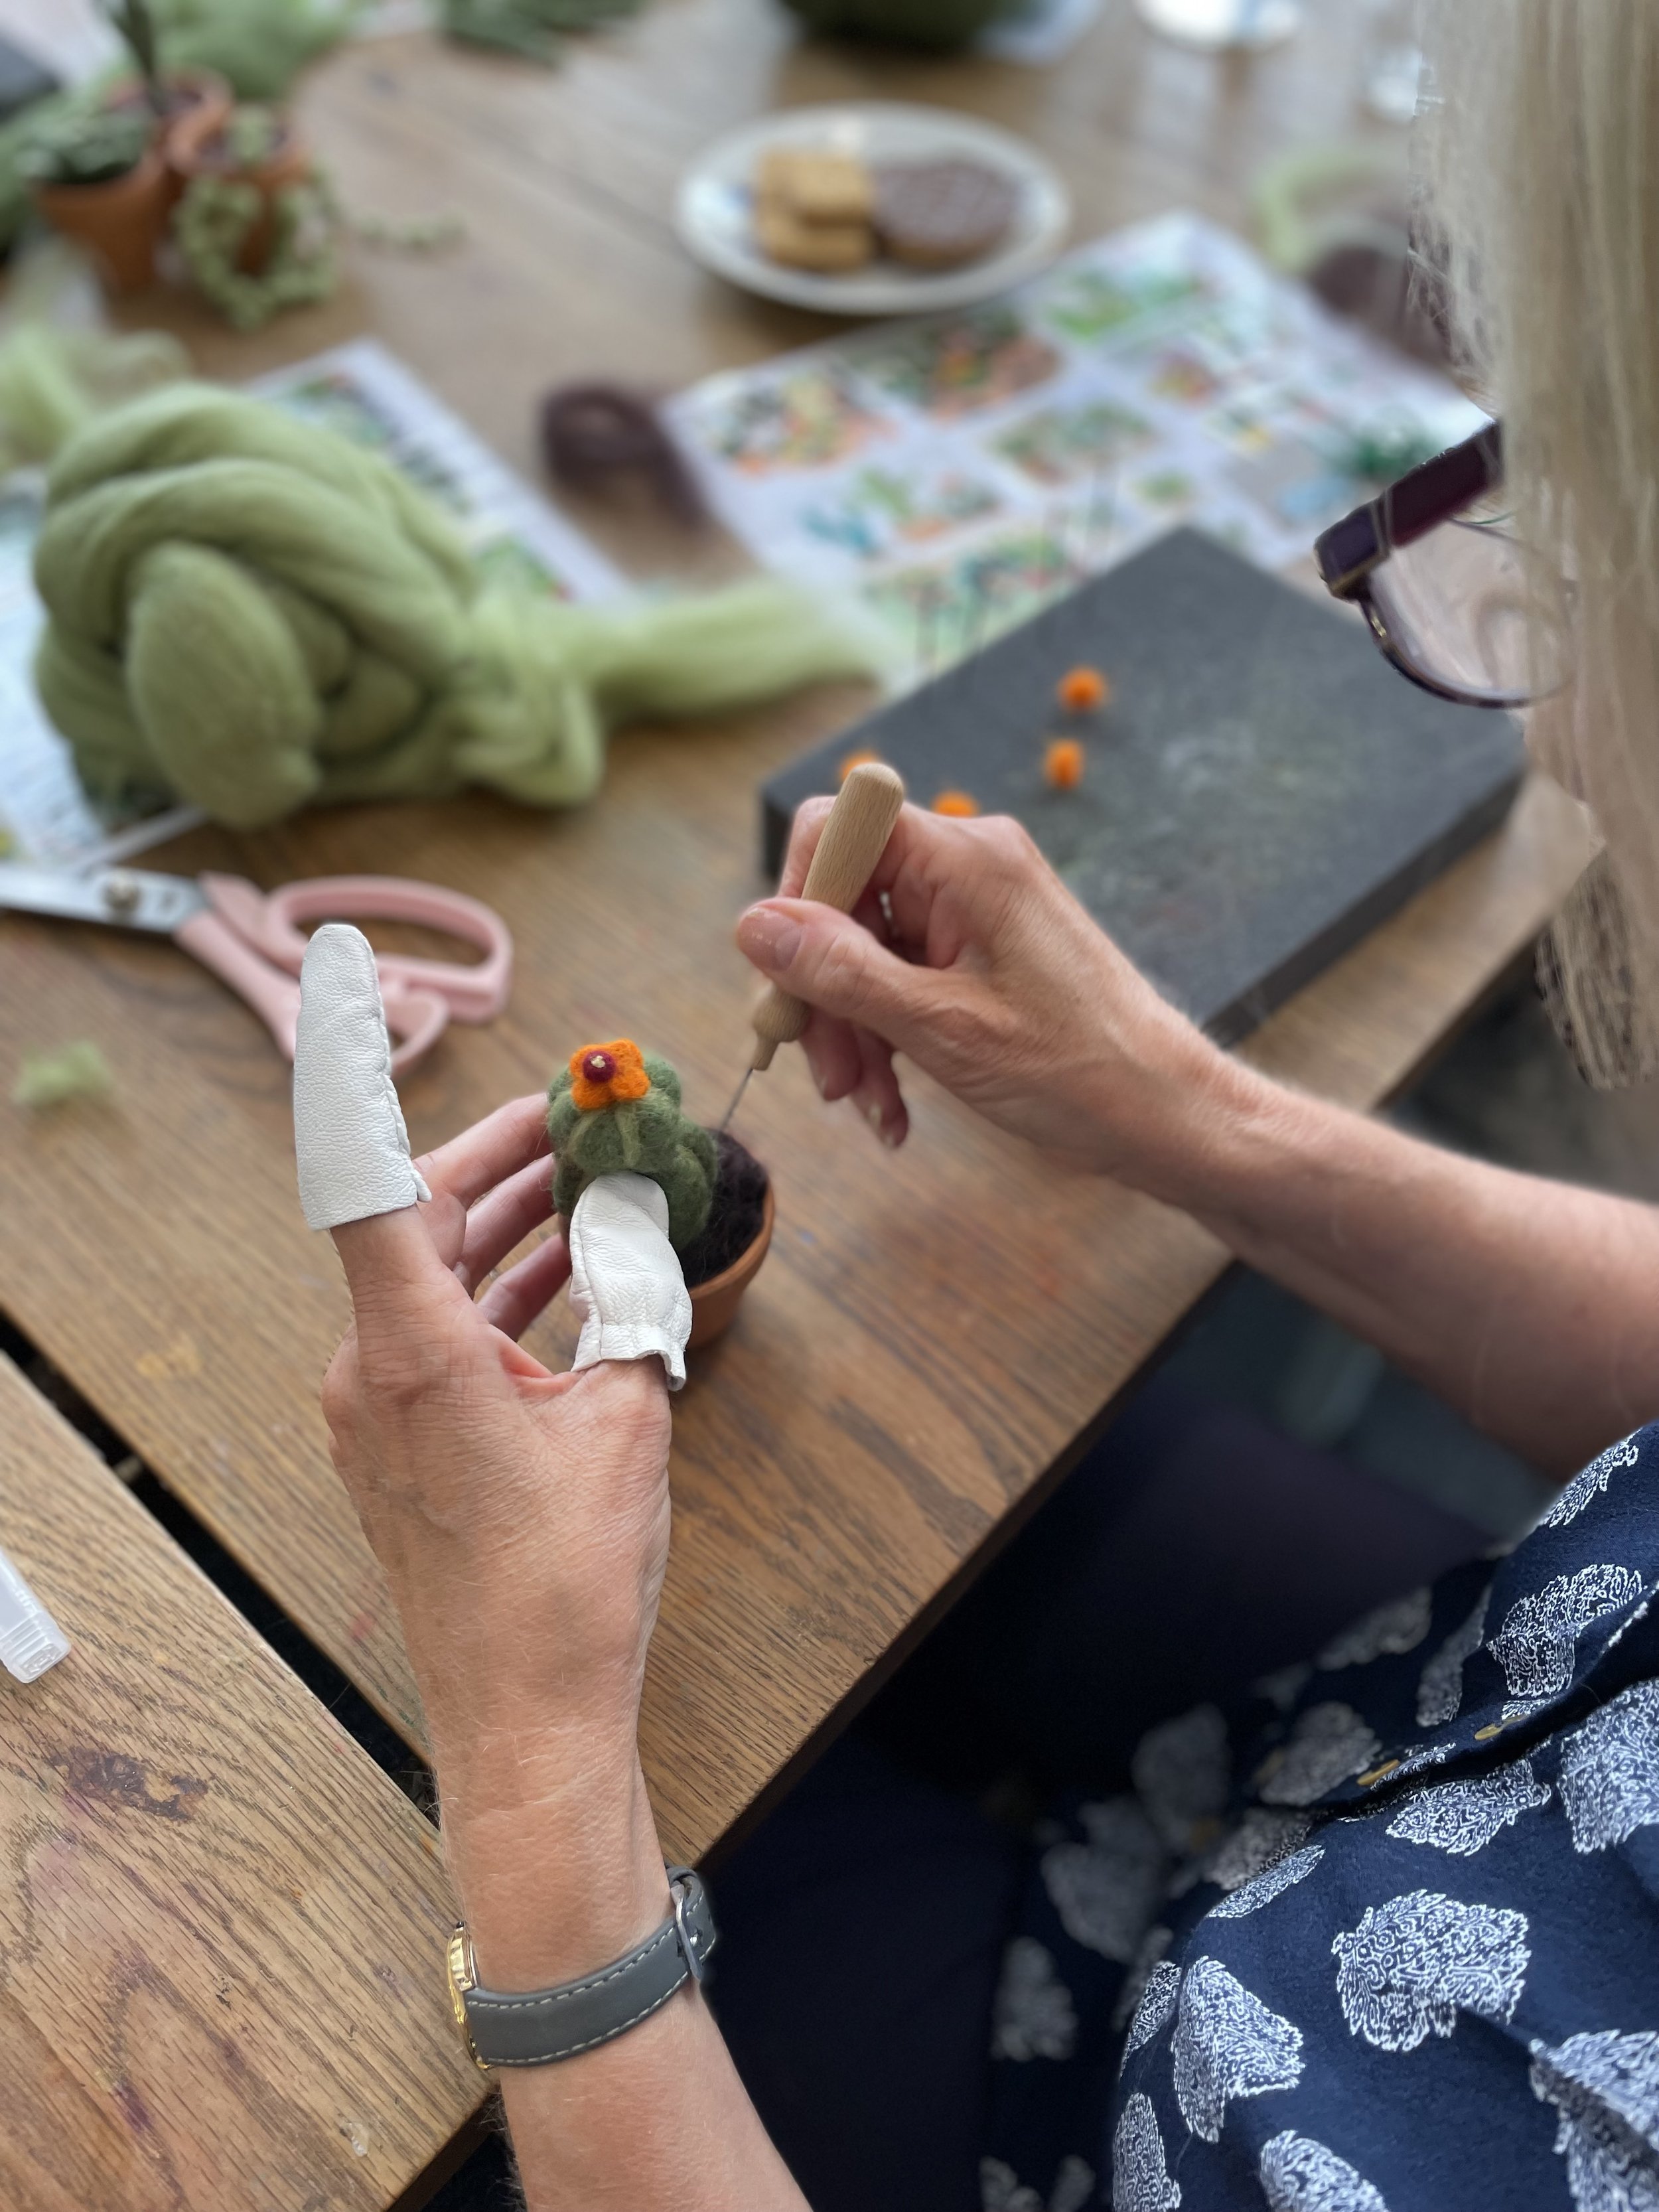
Once you’ve got your base formed, you’ll want to start creating the individual parts of your piece. When you’ve got all of the components ready, the green needle is great for attaching different elements together.

Remember that once it feels a bit tough to continue with a needle, it likely means that your piece has become more dense and now requires a smaller needle (from largest to smallest: Silver, Red, Green, Blue, Gold). Go with the colour that feels right, and don’t feel you have to go through them all systematically - switch it up as needed.

I would buy a few needles of each colour to prepare yourself for the snapping that is inevitable as you’re learning!

If you are creating a landscape, try and work from the layers that are the furthest away from you, to your closest point. Think about adding more detail to the part of the image that would be closer to you, and keep the background softer to help create depth to your image. You can really build up lots of lovely details with a wide range of colours, and don’t be afraid to get bits of different coloured wool and ‘mix’ them together to create a new variety or softer colour to help your final piece feel more natural.

Most importantly, enjoy the process. Take a deep breath and don’t worry too much about the outcome!